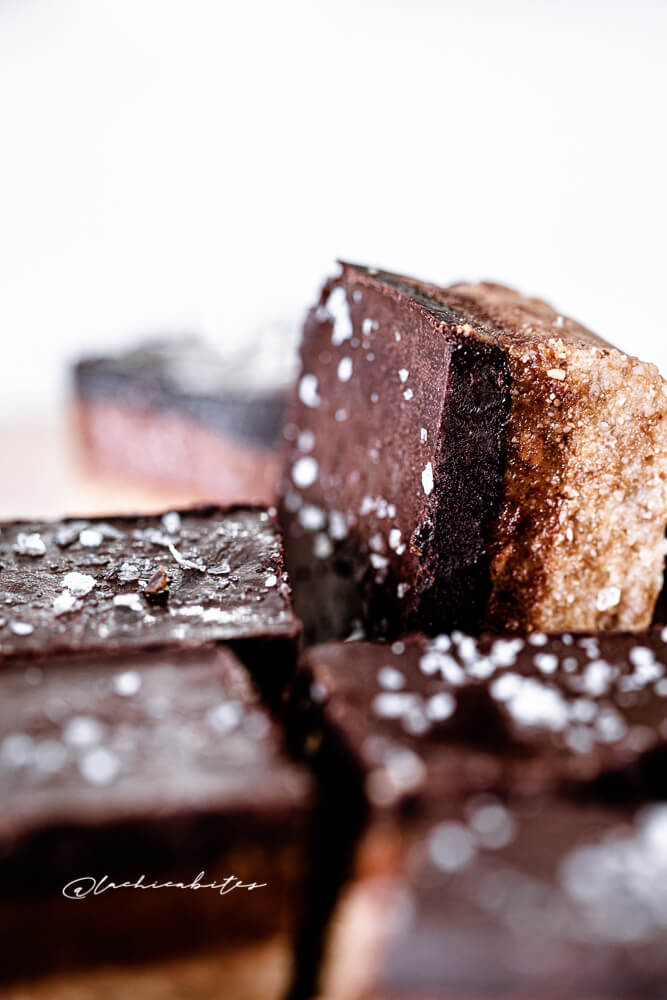
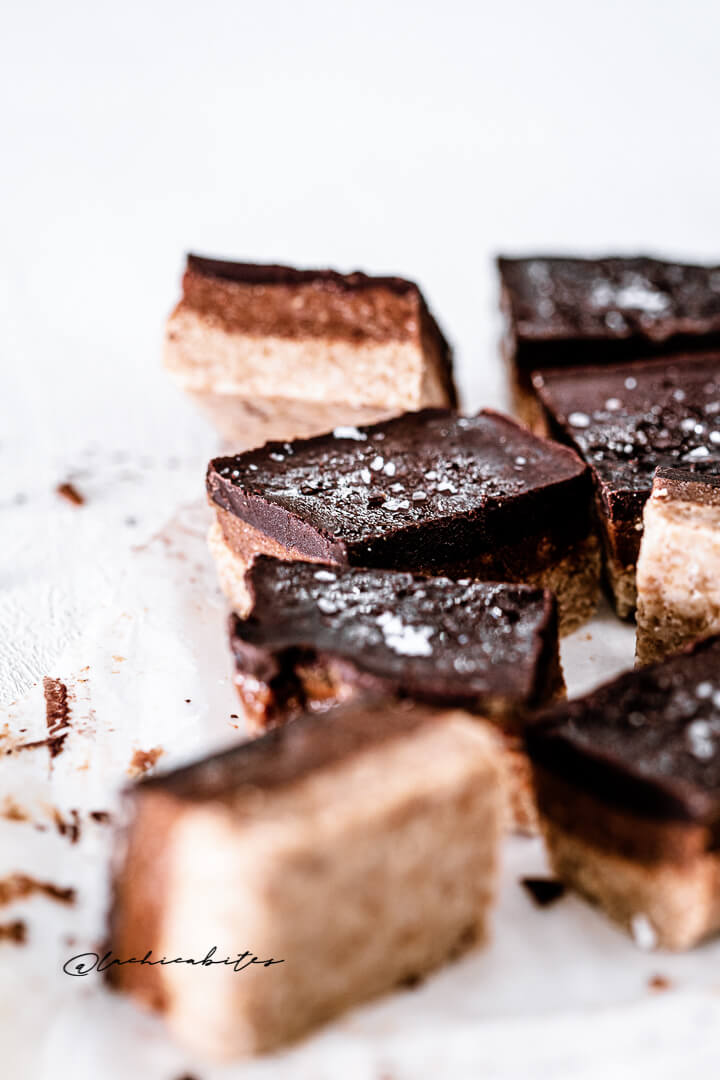
This delicious three-layer bar recipe is so easy to make and so versatile that in my opinion is one of the basics in sweet cooking… once you make it for the first time, you can come back to it changing the flavours to what you have available in your pantry.
Sometimes we just need a quick fix to our sweet cravings, with easy ingredients we can find in our kitchen.
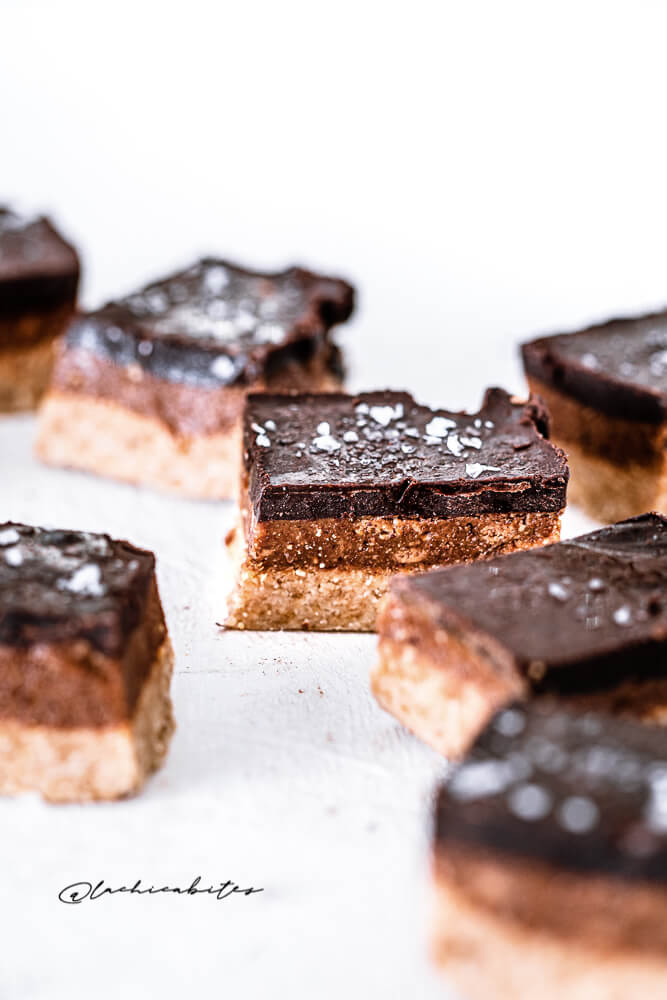
Not only the salted dark chocolate bars are vegan and paleo friendly, they are gluten-free and have unrefined sugars, but the best of all, the dark chocolate later on top… packed in plenty of mood-boosting antioxidants. A healthier snack that keeps in the fridge for at least a week… if you don’t finish with them before!
To be able to have the clear differentiation between the three layers it is necessary to let each layer cool down before adding the next, so the mixture doesn’t blend. I have detailed every step to make it easy for you to follow and also some other combinations of ingredients to create your personal recipe: Vegan Snickers with peanut butter, with pistachio butter and white chocolate with strawberries… the possibilities are endless!
Note: I prepared this recipe in a baking tray with the following dimensions: 19 cm x 13 cm x 4 cm
Ingredients for the base:
- 1 ½ cups almond flour
- 3 tablespoons melted coconut oil
- 1 teaspoon vanilla extract
- 2 tablespoons date syrup
Ingredients for the almond butter layer:
- 2/3 cup natural almond butter (any nut butter will work perfectly, even chunky)
- 1/3 cup pure date syrup
- 1/4 cup coconut oil
- 1 teaspoon orange juice or orange extract
- 1/5 teaspoon sea salt
Ingredientes for the salted chocolate layer:
- 1 cup organic dark chocolate bar
- 1 tablespoon melted coconut oil
- 1/2 teaspoon vanilla extract
- 1 1/3 teaspoons sea salt flakes
No-bake vegan, paleo and gluten-free salted chocolate and orange bars recipe instructions:
- Start the oven at 160 C degrees and prepare the oven-safe tray with parchment paper, adding a bit of oil before the mixture.
- Mix the ingredients for the base in a bowl and pour the mix in the tray.
- Place the tray with the mix in the oven for 10 min (check every so often that the almond flour doesn’t toast) Remove the tray from the oven when the almond mix looks just gold. Set aside to cool down.
- Almond butter mix: Mix the almond butter (or the nut butter of your choice) with date syrup, coconut oil, orange extract and sea salt in a saucepan and heat it at low temperature until the mixture is silky and slightly bubble. Now is the time to pour over the prepared base.
- Once it has cooled down, place it in the fridge while preparing the dark chocolate layer.
- Melt the dark chocolate chunks with coconut oil and vanilla extract, you can use the same saucepan you used for the almond butter mix. Stir until everything is well combined.
- Remove the tray from the fridge and pour the dark chocolate mixture evenly. Now is the time to sprinkle the sea salt flakes!!… I used 1 1/3 teaspoons of sea salt flakes because I like salty.
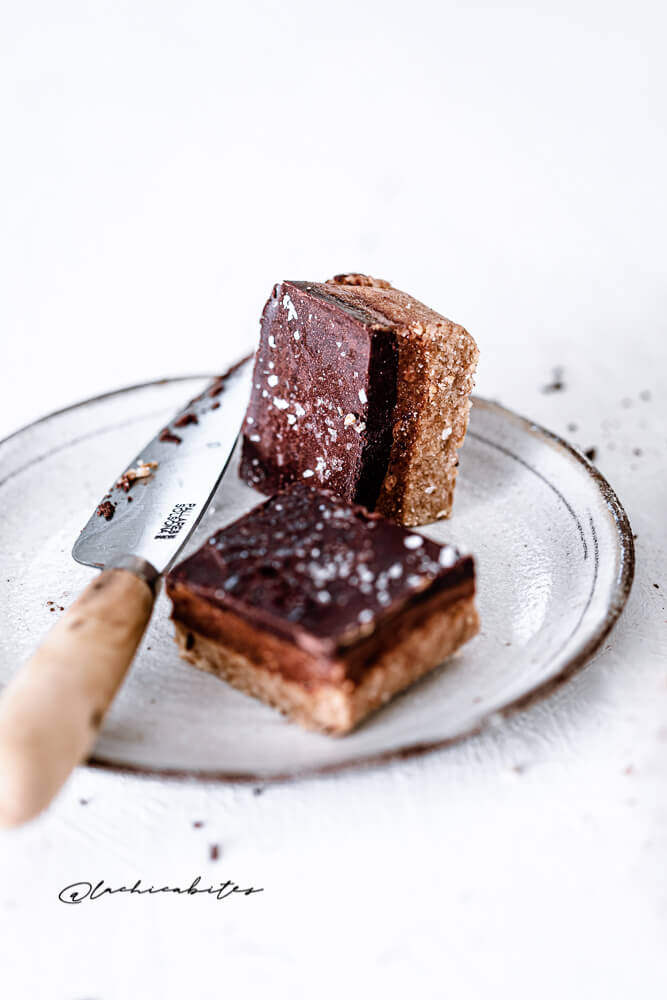
- Let it cool down until ready to put it back in the fridge or freezer. When the chocolate layer has turned hard, is the time to devore it!
Optional alternatives:
- You can replace the almond flour with: coconut flour, oats flour or your prefered cookies (bliz them first)
- Optional sweeteners: To keep this recipe healthy and sugar free, we only use natural non-refined sugar sweeteners. Choose the one you like the most: maple syrup, honey (no vegan friendly), coconut sugar or apple syrup.
- Variation with spices: Vanilla, cinnamon, cloves, cardamom…
- Almond butter: Any nut butter will work perfectly (peanuts, cashews, hazelnuts, pistachios…)
- Coconut oil: Feel free to substitute with normal butter, almond oil, avocado oil or ghee.
I love the combination of salted dark chocolate with orange… 🙂 These bars are so delicious!
And remember, if you want to keep them for longer, these easy vegan, gluten-free and paleo friendly sweet bars keep in the fridge for a week. Or you can also freeze them to enjoy them another time.
Do you like this recipe? or maybe you like the food photography? Have you tried it with some of the variations? If you publish your recipe on Instagram or your blog, tag @lachicabites to feature your post, or leave me a comment here below.
Want to have some inspirational recipes like this directly to your inbox?
Sign up!XO Bea


